
Caulk, Weatherstrip, or Foam: Sealing Drafts Without Calling a Contractor
A side-by-side look at three common draft-sealing materials so you can choose the right one for each gap or opening in your home.
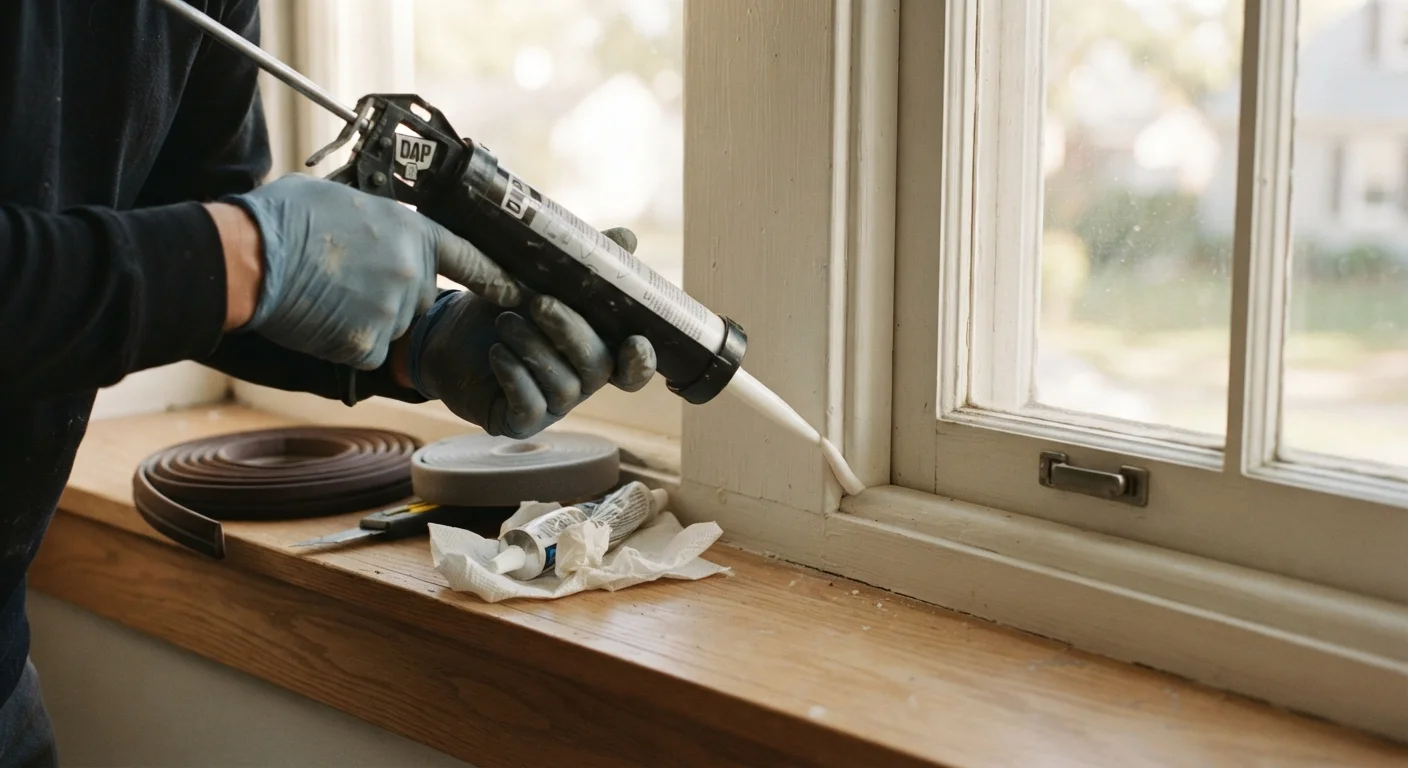
Photo: universalhub.net editorial
—— In This Article
Key Takeaways
- Caulk works best for stationary cracks and gaps around frames, pipes, and trim.
- Weatherstripping is designed for movable surfaces like doors and operable windows.
- Foam sealant fills large, irregular gaps where caulk and weatherstripping cannot reach.
- Choosing the wrong material for a location reduces effectiveness and wastes money.
- Most draft-sealing projects require no special tools and can be completed in an afternoon.
Why the material choice matters
A drafty home loses conditioned air constantly, and the three most common fix-it materials work through completely different mechanisms. Applying the wrong one wastes your time and money without solving the problem. A door sweep on a cracked window frame does nothing; caulk on a door threshold that flexes every time the door closes will crack within weeks. Understanding what each material does physically makes it easy to match it to the right spot.
The three categories are: caulk (a flexible sealant that cures in place), weatherstripping (a compressible barrier attached to a moving surface), and expanding foam (a low- or high-density filler for large voids). Each has a specific range of applications where it performs well and several situations where it fails quickly.
Caulk: the right tool for fixed joints
Caulk is a sealant applied as a paste that cures into a flexible, airtight bead. Silicone formulas stay flexible indefinitely and resist moisture, making them well-suited for bathrooms and exterior applications. Latex or acrylic caulk accepts paint and cleans up with water, so it is more practical for interior trim work.
Good locations for caulk include the perimeter where a window or door frame meets the wall surface, gaps around baseboards, penetrations where pipes or wires pass through walls, and any crack smaller than about a quarter inch in a surface that does not flex or move. A standard caulk gun and a utility knife are the only tools needed.
Caulk fails when applied across a joint that moves, such as the threshold of an exterior door or the contact point between a door stop and a door. That repeated compression and expansion will open cracks in the cured bead within one season.
Test for drafts before you buy anything
Hold a lit incense stick or a thin strip of tissue near suspected gaps on a windy day. Movement in the smoke or paper points to the exact location of air infiltration. This takes less than 30 minutes and prevents you from buying materials for gaps that are not actually leaking air.
Weatherstripping: built for movement
Weatherstripping is the correct material anywhere a surface compresses, slides, or pivots. It works by creating a physical barrier that deforms slightly when the door or window closes, then springs back when it opens. Common forms include V-strip (also called tension seal), foam tape, door sweeps, and bulb seal.
V-strip is thin metal or plastic folded into a V shape; it fits inside the channel where a double-hung window sash slides and provides a durable seal that holds up to thousands of open-close cycles. Foam tape is fast to install but compresses permanently over time and typically needs replacement every two to four years. Door sweeps attach to the bottom rail of an exterior door and seal the gap against the threshold without requiring any modification to the door frame.
The common mistake with weatherstripping is over-compressing it. If a door requires noticeably more force to close after installation, the strip is too thick for that gap and will either wear out faster or cause the latch to miss the strike plate.
| Caulk | Weatherstripping | Expanding foam | |
|---|---|---|---|
| Best application | Fixed cracks and frame gaps | Moving doors and windows | Large or irregular voids |
| Typical gap size | Under 1/4 inch | Compression fit, any size | 1/4 inch to several inches |
| Tools needed | Caulk gun, utility knife | Scissors or tin snips | Gloves, utility knife |
| Durability | 5 to 20 years (silicone) | 2 to 10 years by type | Decades when covered |
| Paintable | Latex types, yes | Some foam tapes, yes | After trimming, yes |
| Fails when | Applied to moving joints | Over-compressed at install | Exposed to UV light |
Expanding foam: for gaps caulk cannot reach
Expanding polyurethane foam fills gaps that are too large or irregular for caulk and too deep for weatherstripping. It is the right choice around exterior pipes, conduit penetrations through the sill plate, gaps between a foundation and the framing above it, and cavities inside walls where insulation has settled or was never installed.
Low-expansion foam (sometimes labeled "minimal expanding" or "window and door" foam) is the correct type for use around window and door frames, because standard high-expansion foam can bow the frames inward as it cures. High-expansion foam is appropriate for open wall cavities and large structural gaps where there is no framing to distort.
Foam cures within an hour and can be trimmed flush with a utility knife once fully set. It is not paintable until trimmed and should be covered or protected from UV light, which breaks it down over time. For any gap that penetrates a fire-rated wall or floor assembly, use a fire-rated foam sealant rather than standard polyurethane foam, and verify local code requirements with your building department.
Putting it all together in one walk-through
A practical approach is to walk the perimeter of your home in two passes. In the first pass, look for fixed gaps: cracks in siding, gaps around window frames, and any hole a pipe or wire passes through. Mark those for caulk or foam depending on size. In the second pass, focus on anything that opens: exterior doors, operable windows, attic hatches, and garage entry doors. Those are weatherstripping locations.
For a typical exterior door, the correct combination is caulk around the exterior frame where it meets the siding, weatherstripping on all four sides of the door stop, and a door sweep at the bottom. Using all three at one door is not redundant; each one seals a different part of the assembly.
Up to 30%
Heating and cooling energy lost through gaps
The U.S. Department of Energy estimates that air leaks through gaps, cracks, and openings can account for up to 30% of a home's heating and cooling energy use.
$50 to $100
Typical DIY material cost for a full-home draft seal
A complete sealing project covering doors, windows, and utility penetrations in an average-sized home generally requires a modest quantity of each material, putting total material costs well below a professional weatherization service.

Home & Garden Editorial Team
Home & Garden Editorial Team is the collective byline for our editorial team and contributor network. Articles published under this byline or an editorial pen name are researched, written, and reviewed according to our editorial standards for clarity, consistency, and independence before publication.
View author profile