
Weekend Garden Bed Projects Using Materials You Already Own
Practical ideas for building productive garden beds with reclaimed wood, cinder blocks, and other materials already around the house.
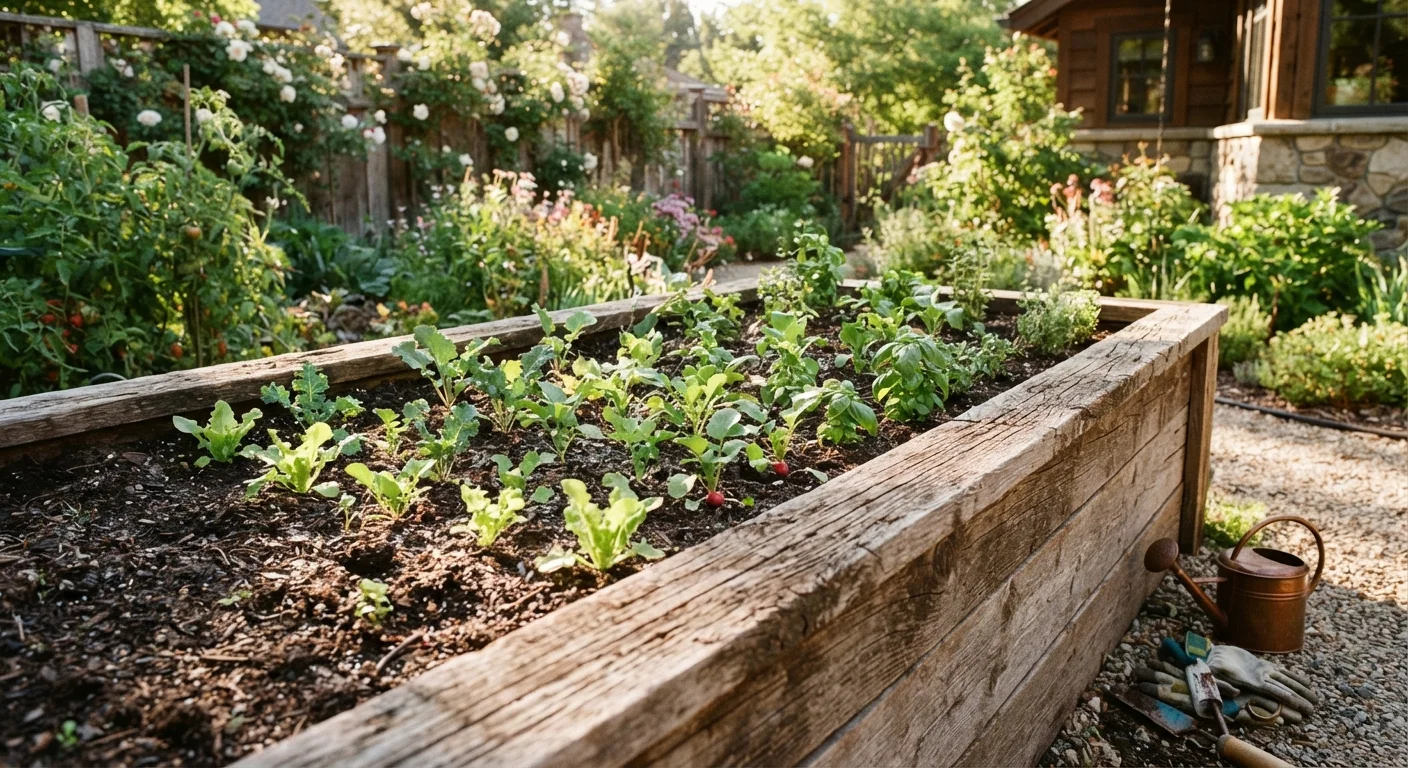
Photo: universalhub.net editorial
Key Takeaways
- Reclaimed wood, cinder blocks, and old pallets can all become functional raised beds at little or no cost.
- Untreated or heat-treated lumber is safe for edible gardens; avoid wood treated with chemical preservatives.
- A basic raised bed can be assembled with common hand tools in a single afternoon.
- Soil quality matters more than bed material: invest in good compost rather than construction supplies.
- Local permits are rarely required for small garden beds, but verify HOA or local rules before building.
Why reclaimed materials make sense for garden beds
Purchased raised-bed kits are convenient, but they carry a real cost. A single cedar kit for a 4-by-8-foot bed commonly runs $80 to $150 before soil, hardware, or delivery. For a family trying to reduce grocery spending by growing some of their own food, that upfront number can make the whole project feel impractical.
Reclaimed materials sidestep that barrier. Old fence boards, salvaged decking, concrete cinder blocks, and heat-treated pallets are all structurally adequate for garden beds, and most households already have at least one of them on hand or can source them from neighbors, online classifieds, or local demolition sites at no cost.
There is one non-negotiable rule before you build: confirm your wood is safe for use around edible plants.
Avoid chemically treated lumber near food
Older pressure-treated wood (made before 2004) often contained arsenic-based preservatives that can leach into soil and be absorbed by edible plants. Do not use any lumber stamped CCA, or any wood with a greenish tint from older treatment. Look for wood stamped HT (heat-treated) or use naturally rot-resistant species such as cedar or redwood.
Once you have assessed your materials and confirmed they are food-safe, the project moves quickly. Most beds take one afternoon to build and a second afternoon to fill and plant. See our planning checklist for a full pre-project review of tools, permits, and safety steps.
What you will need
How to build and fill your bed
The steps below apply to a basic rectangular wood-frame bed, which is the most common design and works with lumber in almost any condition. Cinder block beds follow the same site-selection logic but require no cutting or fastening; stack the blocks two courses high in your chosen shape and fill the same way.
Choose and assess your materials
Walk your property and collect candidate materials: old fence boards, leftover decking lumber, concrete cinder blocks, or pallets. Set aside any wood that shows signs of chemical treatment (green tint, oily residue, CCA or MB stamps). Check that boards are structurally sound by pressing a screwdriver tip into the wood grain; soft, punky wood will rot through in one season.
Cinder blocks require no assessment for toxicity and work well for permanent beds. Their hollow cores can even hold extra soil or small herbs.
Pick a site and mark the footprint
Choose a spot that receives at least six hours of direct sun daily for most vegetables. Use stakes and twine, or a garden hose, to mark the bed outline on the ground. A 4-foot width is the practical maximum: you should be able to reach the center from either side without stepping in.
Clear grass and weeds inside the outline. Lay overlapping sheets of cardboard directly on the soil to block regrowth before filling. Wet the cardboard so it stays in place.
Cut and dry-fit the frame
Measure your marked footprint and cut boards to length. For a standard rectangular bed, you need two boards for the long sides and two for the short ends. Dry-fit all four pieces on the ground before fastening to confirm the frame is square. A simple check: measure diagonally from corner to corner in both directions. Equal diagonal measurements mean a square frame.
Fasten the corners
Stand the boards on edge and join the corners. Drive two or three 3-inch coated wood screws through the end of each short board into the face of the long board. Pre-drilling pilot holes prevents splitting in older, drier lumber. If stacking boards to achieve more depth (10 to 12 inches is ideal for most vegetables), offset the joints between layers so the seams do not line up, which keeps the frame rigid.
Set the frame and level it
Move the assembled frame to its final location. Press it firmly into the soil so it does not shift. Use a level across the top edge on all four sides. If one corner sits low, add a thin layer of soil underneath that edge rather than shimming with wood, which can rot. A level frame drains evenly and keeps water from pooling at one end.
Fill with soil mix and plant
Fill the bed with a mix of topsoil, compost, and a coarse organic material such as aged wood chips or shredded leaves. Aim for the soil surface to sit about an inch below the top edge of the boards so water does not run off immediately. Work the mix lightly with a hand fork, then water it in before planting or transplanting seedlings.
For planting ideas that stretch your food budget, see our grocery budget strategies for pairing homegrown produce with weekly meal planning.
Stretch your soil budget with homemade compost
Filling a raised bed with purchased garden mix adds up quickly. Mix one-third compost, one-third topsoil (from another part of the yard), and one-third aged wood chips or shredded leaves to build a productive growing medium at a fraction of the cost. A home compost bin turns kitchen scraps into free soil amendment over time. If you grow your own transplants, see our complete seed-starting walkthrough for first-time gardeners.
If you plan to grow from seed rather than transplants, the seed-starting walkthrough for beginners covers everything from germination timing to hardening off seedlings before they move outside.

Home & Garden Editorial Team
Home & Garden Editorial Team is the collective byline for our editorial team and contributor network. Articles published under this byline or an editorial pen name are researched, written, and reviewed according to our editorial standards for clarity, consistency, and independence before publication.
View author profile