
Seed Starting Indoors: A Complete Walkthrough for First-Time Gardeners
Everything a first-time gardener needs to know about germinating seeds indoors, from trays and soil to hardening off seedlings.
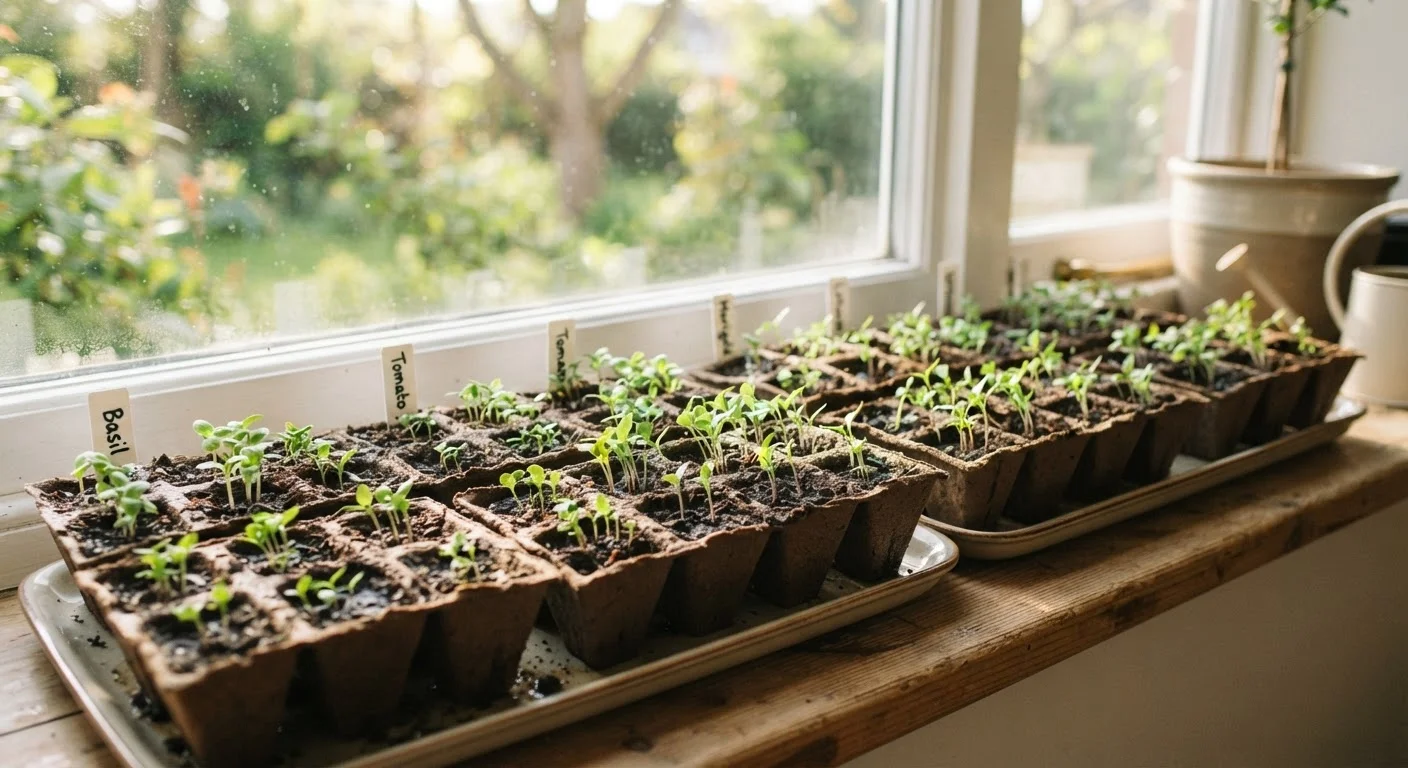
Photo: universalhub.net editorial
—— In This Article
Key Takeaways
- Seed starting mix, not garden soil, gives seedlings the drainage and aeration they need.
- Your last frost date determines when to start each crop indoors.
- Consistent moisture and at least 14 hours of light per day prevent leggy seedlings.
- Hardening off over 7 to 10 days prevents transplant shock when seedlings move outside.
What you need before you start
Growing transplants from seed costs far less than buying starts from a garden center, and it gives you access to varieties that never appear on store shelves. The setup does not require much space or money.
The core supplies are:
- Seed starting mix (not standard potting soil, which is too dense)
- Cell trays or small containers with drainage holes
- A light source that provides 14 to 16 hours per day
- A spray bottle or gentle watering can to water without disturbing seeds
- A humidity dome or plastic wrap to hold moisture during germination
You can repurpose yogurt cups, plastic takeout containers, or egg cartons as seed trays. Poke drainage holes in the bottom and the containers work just as well as anything sold in a garden store. This approach fits naturally into a broader habit of stretching household resources, which you can apply across other projects too. For ideas on doing more with materials you already own, see weekend garden bed projects using reclaimed materials.
Seed starting mix
A finely textured growing medium made for germination. It drains well and holds moisture without compacting, giving seeds and young roots room to develop.
Germination
The process by which a seed sprouts and begins growing. It requires consistent moisture, the right temperature range, and in some cases light.
True leaves
The second set of leaves a seedling produces, which look like the plant's mature foliage. The first set (seed leaves) absorbs stored energy from the seed itself.
Leggy seedlings
Seedlings that grow tall and thin with weak stems, caused by too little light. Leggy seedlings are harder to transplant successfully.
Damping off
A fungal condition that causes seedling stems to collapse at the soil line. It spreads in overly wet conditions and can kill an entire tray quickly.
Hardening off
The gradual process of introducing indoor-grown seedlings to outdoor conditions before transplanting them into the garden.
Timing your seed start dates
The most common mistake first-time gardeners make is starting seeds at the wrong time. Start too early and you have overgrown transplants waiting in cramped cells. Start too late and you lose the benefit of indoor growing entirely.
Every seed packet lists a recommended number of weeks before the last frost date to start indoors. Your last frost date is the average date after which freezing temperatures are unlikely in your area. The USDA and NOAA both provide free frost date lookup tools by zip code, and local cooperative extension offices publish the same data for their regions.
A general reference:
| Crop | Weeks before last frost |
|---|---|
| Peppers | 10 to 12 |
| Tomatoes | 6 to 8 |
| Broccoli / Cabbage | 6 to 8 |
| Lettuce | 4 to 6 |
| Basil | 4 to 6 |
Mark your start dates on a calendar. Stagger crops so you are not transplanting everything at once.
Planting, watering, and light
Fill containers to within half an inch of the top with moist seed starting mix. Press it lightly so there are no large air pockets. Sow seeds at the depth listed on the packet, which is usually two to three times the seed's diameter. Cover with mix, then mist the surface.
Place a humidity dome or a loose sheet of plastic wrap over the tray. Most seeds germinate best between 65 and 75 degrees Fahrenheit. The top of a refrigerator or a seedling heat mat can provide bottom warmth if your space runs cool. Remove the dome as soon as you see sprouts.
Once the dome comes off, light becomes the main variable. A south-facing window in late winter provides less intensity than most seedlings need, which leads to leggy (stretched, weak) growth. A simple grow light on a timer set to 14 to 16 hours solves this. Keep the light 2 to 4 inches above the tops of the seedlings and raise it as they grow.
Water from the bottom when possible: set the tray in a shallow dish of water for 20 to 30 minutes so the mix absorbs moisture upward. This prevents damping off, a fungal condition that collapses seedling stems at the soil line. Let the surface dry slightly between waterings.
Label everything before you forget
Once trays are filled and seeds are sown, they all look identical. Push a small piece of masking tape or a cut-down plastic strip into each cell and write the variety and sow date with a permanent marker. Losing track of what is what is one of the most frustrating (and avoidable) problems beginners run into.
Hardening off before transplanting
Seedlings grown indoors have never experienced wind, direct outdoor sun, or nighttime temperature drops. Moving them outside without preparation stresses them severely. Hardening off is the gradual introduction to those conditions over 7 to 10 days.
Start by placing seedlings in a sheltered spot outdoors (partial shade, no wind) for 1 to 2 hours on the first day, then bring them back inside. Add an hour or two each subsequent day. By day five or six, they can handle several hours of morning sun. By day ten, they should tolerate a full day outside as long as temperatures stay above the crop's minimum tolerance.
Avoid putting seedlings out on days with strong wind, heavy rain, or temperatures below 50 degrees Fahrenheit for warm-season crops. Watch for wilting or leaf scorch and scale back exposure if either appears.
Once hardened off, transplant into a prepared bed in the morning or on a cloudy day to reduce immediate heat stress. Water the transplants in well and keep the soil consistently moist for the first week. If you are still planning your outdoor beds, building beds from materials you already have is a practical next step.
Frequently Asked Questions

Home & Garden Editorial Team
Home & Garden Editorial Team is the collective byline for our editorial team and contributor network. Articles published under this byline or an editorial pen name are researched, written, and reviewed according to our editorial standards for clarity, consistency, and independence before publication.
View author profile